Fuller Industries manufactures a range of commercial cleaning chemicals and tools with a specific selection designed to make floor stripping and finishing cleaning simple and efficient.
For best results, follow the instructions on the label for each product. Our training program seeks to give a solid base of information for any member of a janitorial or facilities maintenance staff member to build on with experience.
It’s important to follow the procedures given to you by your supervisor, since those steps are designed specifically for the job at hand.
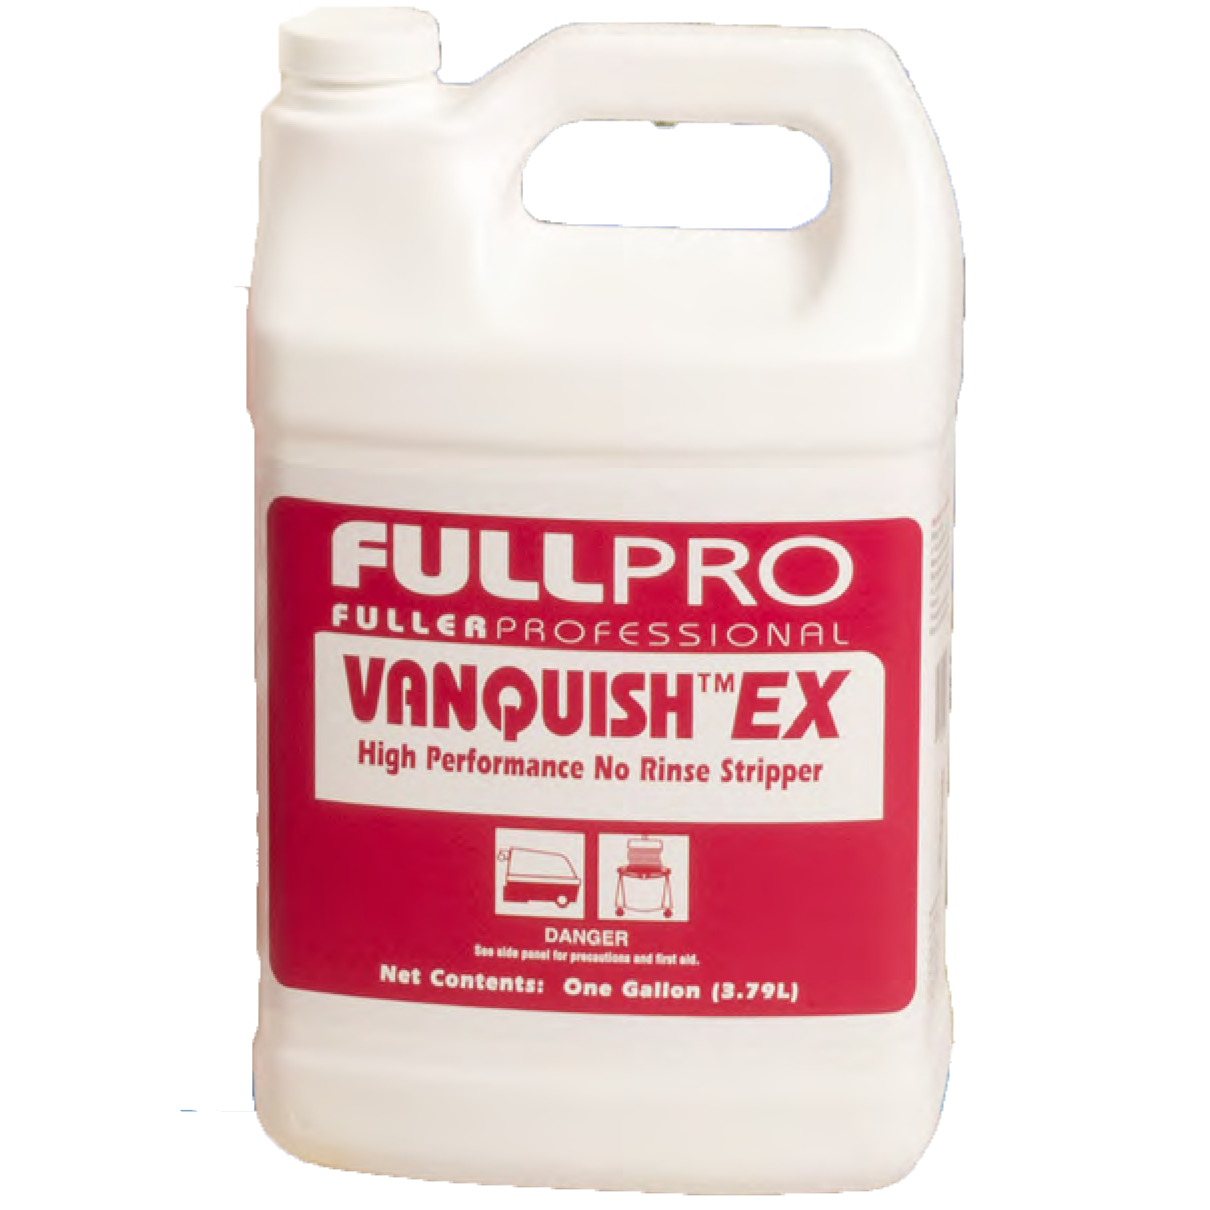
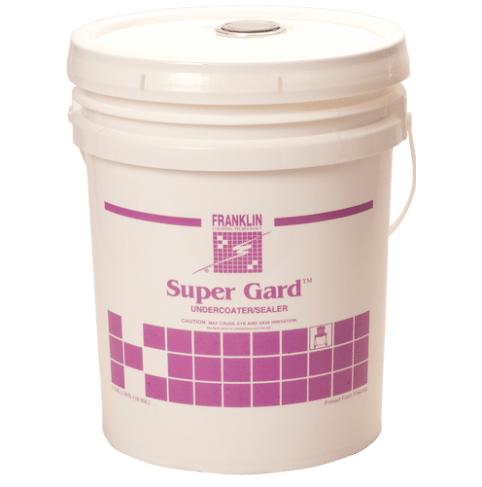
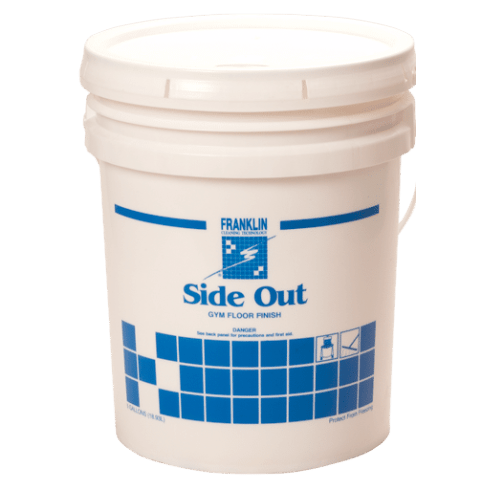
Our line of chemicals devoted to stripping and finishing floors are developed specifically for floor maintenance on a regular basis, and our training imparts information gleaned over years of experience in manufacturing these chemicals and working with end users. When used as directed, our chemicals provide a safe and efficient solution for all floor stripping and finishing requirements.
Floor strippers remove the finish from a floor to reveal a clean floor surface underneath. After stripping the floor, it will need to be finished and sealed.
Before beginning any floor stripping and finishing procedure, it’s important for the cleaner to notify anyone in the area that the cleaning is about to begin.
The cleaner should gather personal protective equipment, including eye protection and gloves, and also gather together the required cleaning supplies and equipment for the job at hand.
Always follow manufacturer label instructions on any cleaning product.
Prepare the area by placing wet-floor signs around the perimeter of the area. Remove any furniture out of the way, and take care to work around any fixed furniture that cannot be removed. Before adding any water or cleaning solution to the floor remove any gum or tape from the surface. Sweep the floors with a dustmop.
Required equipment includes two mop heads and handles, one to serve as the strip mop, and one to serve as a rinse mop. Also two mop buckets and wringers are needed, one to serve as the strip bucket, and one to act as the rinse bucket. It helps to label them.
Place a black stripping pad on a rotary floor machine set to let speed.
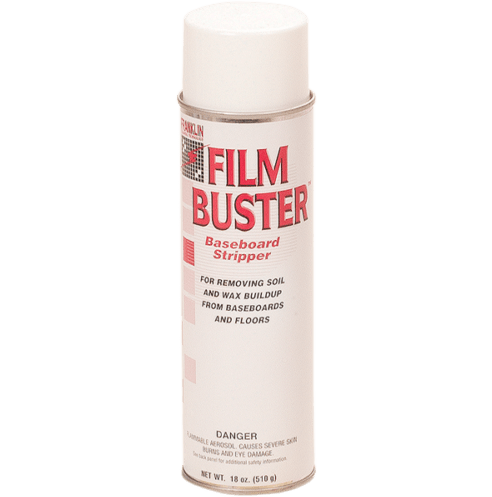
Fill the strip bucket with water and add stripping solution according to manufacturer instructions on the label. Fill the rinse bucket with clean cold water, and equip a wet vacuum with a squeegee tool.
Apply the stripping solution from the stripping bucket, using the strip mop. Note: For safety reasons, it’s important to improve the ventilation of the area as much as possible by opening doors and windows. Begin on the edges and use an arc motion from left to right to apply the stripping solution liberally to coat small sections measuring approximately ten feet by ten feet the entire floor area.
If any solution splashes on the wall, baseboards, doors, windows, glass, or furniture, be sure to wipe it off immediately with a damp mop or cloth.

Allow the solution to remain on the floor for five to ten minutes, being careful not to let the solution dry on the floor. Should the floor begin to dry, add water to the floor, but be careful not to flood the floor area.
Clean edges, corners, along baseboards and other unreachable areas with a doodlebug and pad. Do not overwet the floor, it can damage the floor or subfloor. Pay extra attention to water level on the floor, especially on the upper floors of the building.
After the stripping solution has sat for five to ten minutes on the floor, strip the floor using the floor machine, scrubbing the floor in a circular motion with the black pad installed earlier. Scrub from side to side and work into the room.
Be sure to keep the floor wet and overlap the machine strokes to be sure to cover the entire floor. Examine the floor to ensure the finish is removed. Look for residual gloss, which indicates the floor finish remains in spots, and restrip any areas.
Once the stripping is done, remove the remaining stripping solution from the floor using the wet vacuum. Be sure not to use a floor squeegee to push the water to the wet vacuum.
Now rinse the floor using the rinse bucket and mop. Use the mop to wet the floor thoroughly, using caution not to flood the floor. Remove the rinse water from the floor using the wet vacuum.
Damp mop the floor with the rinse mop, changing water as needed. Dry the floor with floor fans.
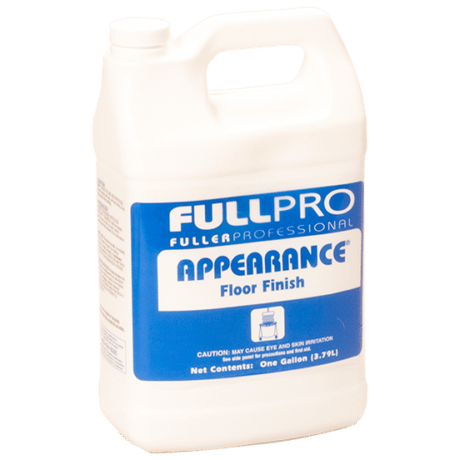
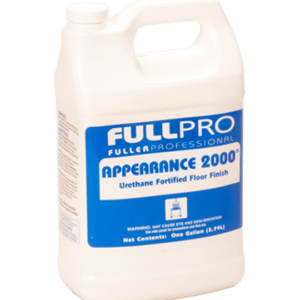
Once the floor is completely dry, the next step is to finish the floor. Gather a finish mop, bucket and trash bag. Line the bucket with the trashbag, to protect the finish. It’s important to use protective eye equipment.
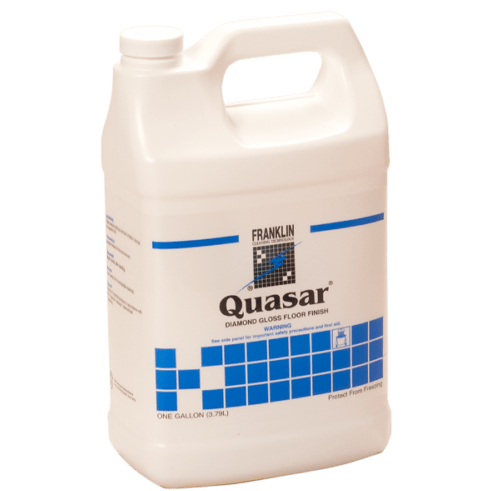
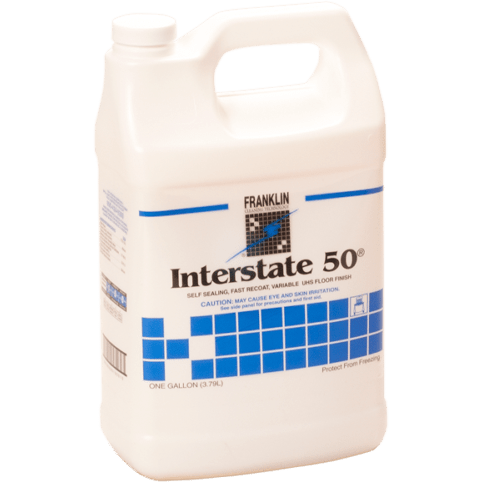
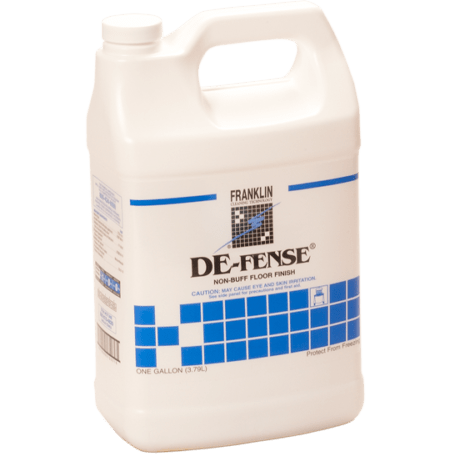
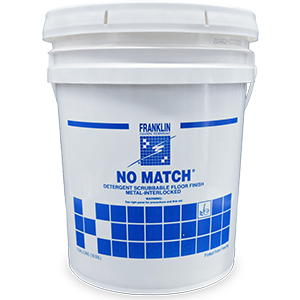
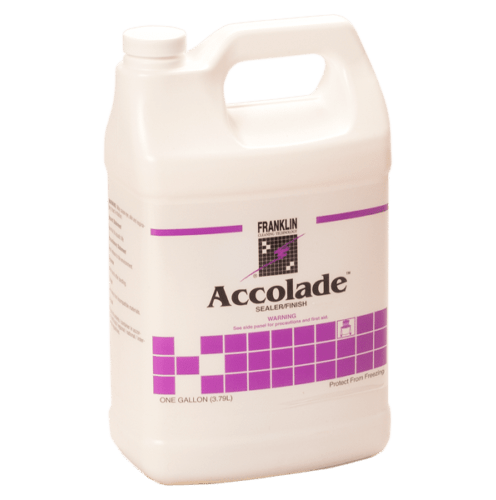
Place the mop in the bucket and pour the floor finish on top of it, to reduce foaming. Only pour enough finish to complete the job, as finish is not reusable after it leaves the bottle.
Let the mop drip out excess finish, then outline an area six inches from the baseboard. Use a figure-eight motion to fill in. Work from the back of the room and work toward the front of the room by the door. Use both sides of the mop and re-dip the mop as necessary. Allow the finish to dry for at least 30 minutes. Fans may be used to aid in drying but be careful not to point the fan directly at the finish.
Apply six coats of finish to stripping floors, and two coats to top-scrubbed floors.
Watch these videos for additional training stripping and finishing floors.